Add TopTechs as a preferred source
The fastest way to screen record on Windows is the built-in Snipping Tool: press Windows + Shift + R, drag to select the area you want, then click Start. To stop, click the stop button in the recording bar. No downloads needed — every Windows 11 PC can record its screen out of the box, with microphone and system audio. This guide covers all the ways to record your screen on Windows, how to capture sound, where recordings save, and how to fix the most common problems.
Quick answer: Press Windows + Shift + R to open the Snipping Tool recorder → drag to select the area → click Start (a 3-second countdown runs) → click Stop when done. For gaming or full-screen apps, press Windows + Alt + R instead (Xbox Game Bar). Recordings save as
.mp4files.
Only need a still image, not a video? See our companion guide on how to take a screenshot on Windows — every shortcut, and where the files save.
What you'll need
- A PC running Windows 11 for the Snipping Tool recorder (screen recording was added to Snipping Tool in a 2024 update). On Windows 10, use the Xbox Game Bar instead.
- Nothing to install — screen, microphone and system-audio recording are all built in.
- For advanced recording (long sessions, webcam overlay, multiple sources), a free tool like OBS Studio — covered near the end.
Method 1: Screen record on Windows with the Snipping Tool (easiest)
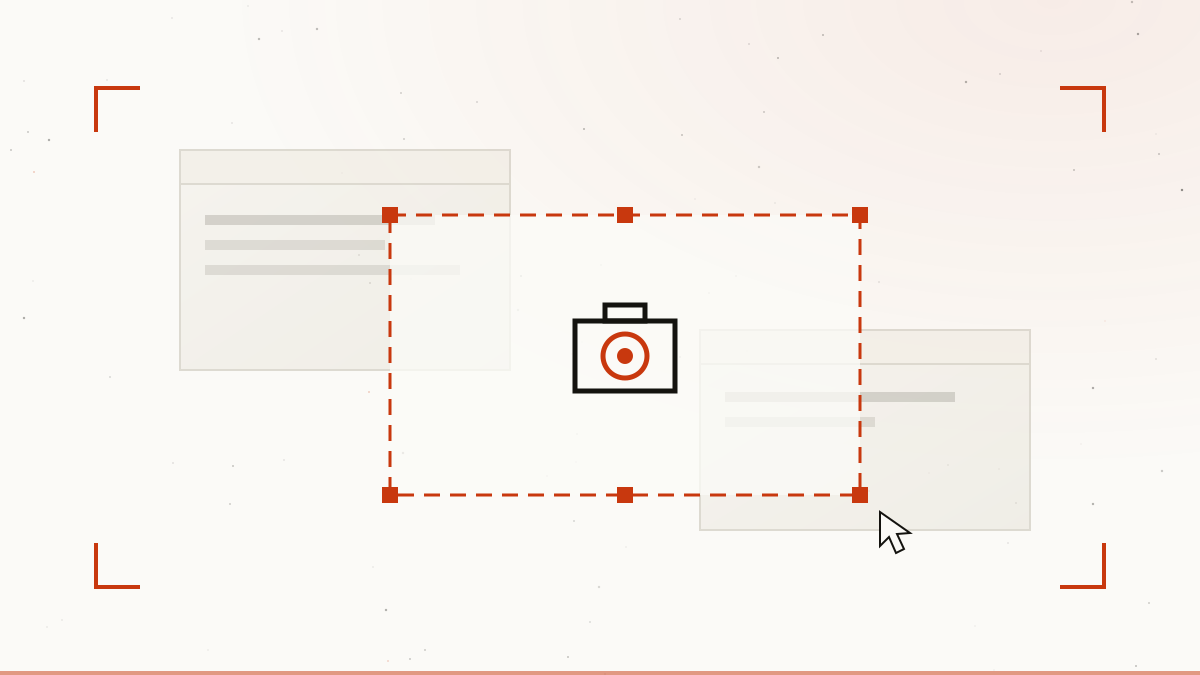
The Snipping Tool is the quickest built-in way to record your screen on Windows 11. Press Windows + Shift + R, select the area you want to capture, and hit Start — no setup required.
- Press Windows + Shift + R, or open Start → Snipping Tool and click the video camera icon to switch to Record mode.
- Drag to select the part of the screen you want to record (or grab the whole screen).
- Click the ⋯ (three dots) → Settings to turn on your microphone and system audio if you want sound.
- Click Start. A short countdown runs, then recording begins.
- Click Stop in the recording bar when you're finished.
- The clip opens in a preview window — click Save (the disk icon) to store it as an
.mp4, or copy/share it directly.
This is the best method for quick tutorials, bug reports and how-to clips. It records a clean region of the screen without the gaming-focused extras of the Game Bar.
Method 2: Screen record with the Xbox Game Bar (Windows 10 & 11)
The Xbox Game Bar is built into both Windows 10 and 11 and is ideal for recording games and full-screen apps. It captures system audio automatically and can record in the background with one shortcut.
- Press Windows + G to open the Game Bar overlay (or search "Game Bar" in Start).
- Find the Capture widget. Click the record (⏺) button, or just press Windows + Alt + R to start recording instantly.
- To include your voice, click the microphone icon so it's unmuted before you start.
- Press Windows + Alt + R again (or click Stop) to finish.
- Your video saves automatically to This PC → Videos → Captures as an
.mp4.
Note: the Game Bar can't record the Windows desktop or File Explorer itself — it's designed for apps and games. For those, use the Snipping Tool (Method 1).
Method 3: Record and edit with Clipchamp
Clipchamp is Microsoft's free video editor, pre-installed on Windows 11, and it can both record your screen and polish the result. Use it when you want to trim mistakes, add captions, or record your webcam alongside the screen.
- Open Clipchamp from the Start menu and choose Create a new video.
- On the left toolbar, click Record & create → Screen recording (you can add your webcam and mic too).
- Pick the screen, window or tab to capture, then click Record.
- When you stop, the clip drops straight onto the editing timeline to trim, add text and export.
- Click Export and choose 1080p to save the finished
.mp4.
How to screen record on Windows with sound
Windows can capture two kinds of audio, and it's worth knowing the difference so your recording isn't silent:
- Your voice (microphone): In the Snipping Tool, open ⋯ → Settings and enable the microphone. In the Game Bar, click the mic icon so it's unmuted. Everything you say is recorded alongside the screen.
- System / internal audio (sound from apps and videos): The Snipping Tool recorder and Xbox Game Bar both capture your PC's system sound by default on Windows 11 — no extra software needed, unlike on a Mac. If you hear nothing back, check the correct output device is set in Settings → System → Sound.
Recording a Mac instead? See our companion guide on how to screen record on a Mac with audio — the audio setup is a little different there.
Best free upgrade: OBS Studio (for long or advanced recordings)
When you outgrow the built-in tools — recording for hours, mixing several sources, or streaming — OBS Studio is the go-to free option. It has no time limit, no watermark, and records at high bitrates.
- Download OBS Studio (free, open-source) and run the auto-configuration wizard.
- Under Sources, add a Display Capture (whole screen) or Window Capture (one app).
- Set your microphone and desktop audio levels in the Audio Mixer.
- Click Start Recording, then Stop Recording when done. Files save to your Videos folder by default.
OBS has a steeper learning curve, so stick with the Snipping Tool or Game Bar for quick clips and save OBS for bigger projects.
Which screen recorder should you use?
Here's a quick comparison of the four options so you can pick the right one:
| Tool | Best for | System audio | Time limit | Saves as |
|---|---|---|---|---|
| Snipping Tool | Quick desktop tutorials, bug reports | Yes | None | .mp4 |
| Xbox Game Bar | Games & full-screen apps | Yes | Up to 4 hours | .mp4 |
| Clipchamp | Record + edit in one place | Yes | None | .mp4 |
| OBS Studio | Long, advanced or multi-source recordings | Yes | None | .mp4 / .mkv |
Where Windows screen recordings save
By default, Snipping Tool lets you choose the save location when you click Save, while the Xbox Game Bar saves automatically to This PC → Videos → Captures. You can change the Game Bar's folder in Settings → Gaming → Captures. Clipchamp and OBS export to wherever you point them, usually your Videos folder.
How to fix common screen recording problems
- No sound in the recording: confirm the microphone is enabled (Snipping Tool ⋯ → Settings, or the Game Bar mic icon) and that the right output device is selected in Settings → System → Sound.
- Windows + G does nothing: enable the Game Bar in Settings → Gaming → Xbox Game Bar, then try again.
- Can't record the desktop or File Explorer with Game Bar: that's by design — use the Snipping Tool for desktop and app windows.
- Choppy or laggy video: close background apps, or lower the capture resolution/frame rate. On older PCs, the Snipping Tool is lighter than OBS.
- Recording is too large: trim it in Clipchamp and export at 1080p to shrink the file.
Bottom line
The upgrade that matters most: your microphone
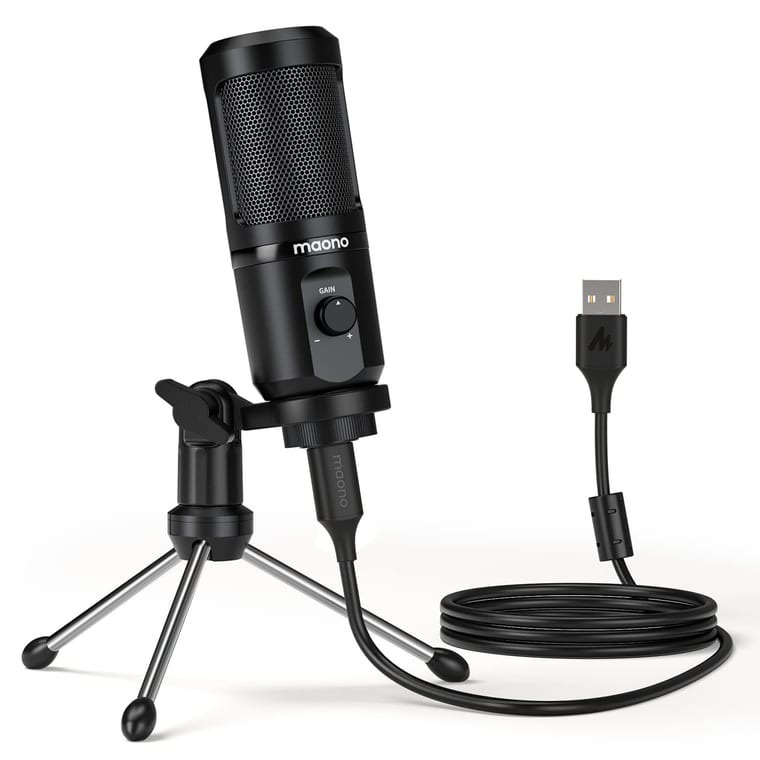
Viewers forgive rough video far more readily than bad audio. If you record regularly, this is the single best upgrade:
- Maono AU-PM461TR USB condenser microphone — a plug-and-play USB mic that sounds dramatically cleaner than any laptop's built-in one, with no audio interface needed.
For most people, the Snipping Tool (Windows + Shift + R) is the easiest way to screen record on Windows with audio, while the Xbox Game Bar (Windows + Alt + R) wins for games and full-screen apps. Reach for Clipchamp when you want to edit, and OBS Studio only for long or advanced captures. Everything you need is already on your PC — no downloads, no watermarks. Next, learn how to cast your laptop screen to a TV to share those recordings on the big screen.