Add TopTechs as a preferred source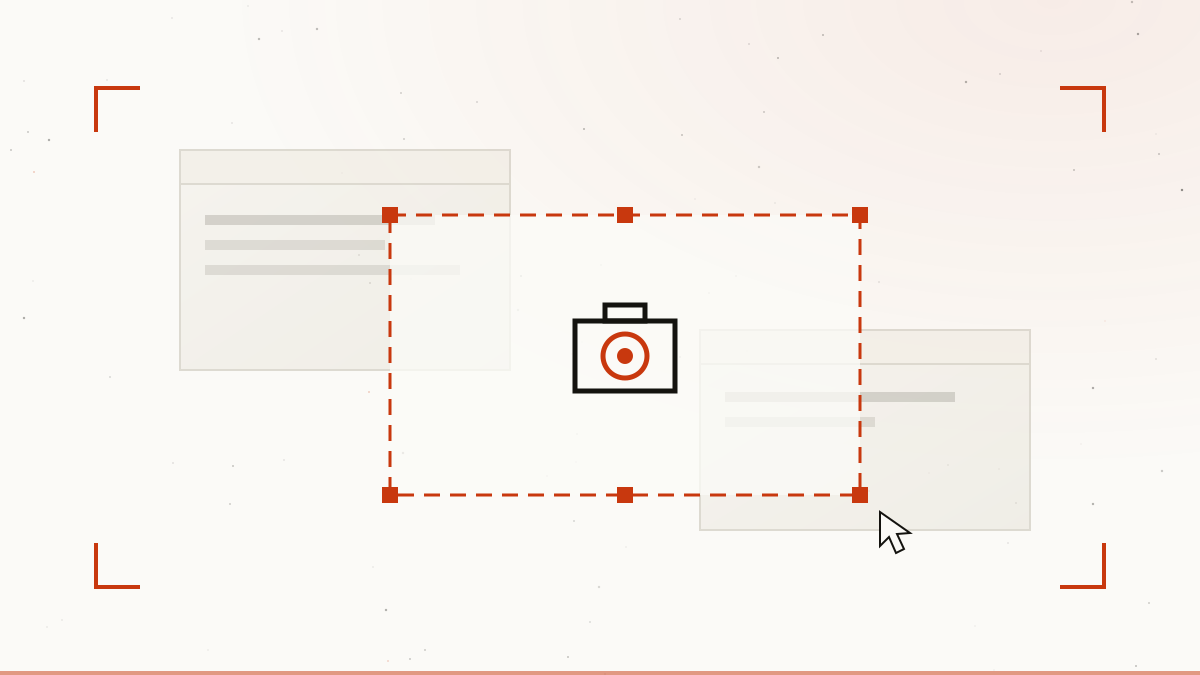
The fastest way to take a screenshot on Windows is the snipping shortcut: press Windows + Shift + S, drag over the area you want, and the capture is copied to your clipboard instantly. But that's just one of six built-in ways — and each behaves differently, especially around where the image actually goes. This guide covers every method to screenshot on Windows 11 and Windows 10, where the files save, and how to fix the Print Screen key when it does nothing.
Quick answer: Press Windows + Shift + S → drag to select the area → the screenshot copies to your clipboard, and a notification lets you edit or save it. Want an instant file instead? Press Windows + PrtScn — the screen dims and a PNG lands in Pictures → Screenshots automatically.
Method 1: Windows + Shift + S (best for most screenshots)
Windows + Shift + S opens the snipping overlay — the most flexible way to take a screenshot on Windows. You choose exactly what to capture: a rectangle, a freeform shape, one window, or the full screen. The snip goes to your clipboard, ready to paste anywhere.
- Press Windows + Shift + S. The screen dims and a small toolbar appears at the top.
- Pick a mode: Rectangle, Freeform, Window or Full screen.
- Drag over the area you want (or click a window).
- The screenshot is now on your clipboard — paste it with Ctrl + V into chat, email or any editor.
- To save it as a file, click the notification that pops up — it opens in the Snipping Tool editor where you can crop, annotate and hit Save (Ctrl + S).
Important: if you ignore the notification and never save, the snip lives only on the clipboard — copy something else and it's gone. Turn on clipboard history (Windows + V) to keep your last captures around.
Method 2: Windows + PrtScn (auto-saves a file)
Windows + PrtScn is the "just save it" shortcut. It captures your entire screen and writes a timestamped PNG straight to Pictures → Screenshots — no pasting, no editor, no extra clicks. The screen dims for a split second to confirm the capture worked.
This is the method to use when you're collecting many screenshots in a row — documentation, bug reports, receipts — and want them all as files without touching the clipboard.
Method 3: The Print Screen key (PrtScn)
On its own, PrtScn copies the whole screen to the clipboard — paste it with Ctrl + V. Add Alt and it copies only the active window, which is perfect for capturing one app without your messy desktop around it.
- PrtScn — full screen → clipboard.
- Alt + PrtScn — active window only → clipboard.
- Fn + PrtScn — on many laptops, PrtScn shares a key with something else, so you need the Fn modifier.
Windows can also remap this key: in Settings → Accessibility → Keyboard, the toggle "Use the Print Screen key to open snipping" makes PrtScn open the Windows + Shift + S overlay instead of copying to the clipboard. If your PrtScn suddenly behaves differently, this setting is usually why.
Method 4: The Snipping Tool app (timers & annotation)
The Snipping Tool is the full app behind the overlay, and it adds the extras: a delay timer (3, 5 or 10 seconds) so you can capture menus that close when you click, window mode, and a built-in editor with pen, highlighter and crop. Open it from the Start menu, click New, and choose your mode.
It's also where Windows hides its screen recorder — the Snipping Tool records video too, with system audio and mic support.
Method 5: Windows + Alt + PrtScn (Game Bar, for games)
In a game or full-screen app, press Windows + Alt + PrtScn to let the Xbox Game Bar grab the shot. These captures save automatically to Videos → Captures (not Pictures), which trips people up — if a game screenshot "disappeared," look there.
Every Windows screenshot shortcut, compared
One table to remember them all:
| Shortcut | Captures | Goes to | Best for |
|---|---|---|---|
| Win + Shift + S | Area / window / screen | Clipboard + notification | Most screenshots |
| Win + PrtScn | Full screen | Pictures → Screenshots (PNG) | Auto-saving files |
| PrtScn | Full screen | Clipboard | Quick paste |
| Alt + PrtScn | Active window | Clipboard | One app only |
| Win + Alt + PrtScn | Full screen (Game Bar) | Videos → Captures | Games |
| Snipping Tool app | Any, with delay timer | You choose on save | Menus, annotation |
Where do Windows screenshots save?
It depends on the method — and this is the number-one source of confusion. Windows + PrtScn saves automatically to Pictures → Screenshots. Game Bar captures save to Videos → Captures. Everything else — Windows + Shift + S, PrtScn, Alt + PrtScn — goes to the clipboard only until you paste or save it from the notification. If OneDrive backup is on, it may also collect PrtScn captures into OneDrive → Pictures → Screenshots and notify you.
Print Screen not working? Fix it in a minute
- Laptop key does nothing: hold Fn with PrtScn — or check if an F-Lock / Fn-Lock key is toggled.
- PrtScn opens an overlay instead of copying: that's the remap toggle — Settings → Accessibility → Keyboard → turn "Use the Print Screen key to open snipping" off (or leave it on if you prefer the overlay).
- Screenshots vanish before you paste: the clipboard holds one item at a time. Enable clipboard history with Windows + V.
- Nothing saves to Pictures → Screenshots: that folder is only used by Windows + PrtScn, not plain PrtScn — or OneDrive may have moved it (check OneDrive → Pictures → Screenshots).
- Capturing a right-click menu closes it: use the Snipping Tool's delay timer, then open the menu while the countdown runs.
Bottom line
A tip if you screenshot constantly
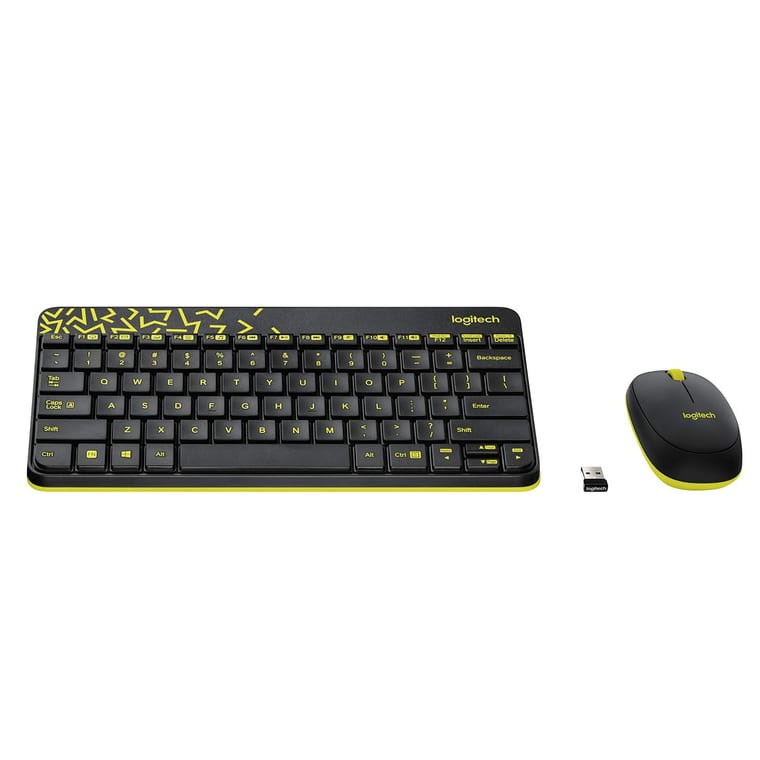
If screenshots are part of your daily work, the hardware helps:
- Logitech MK240 wireless keyboard and mouse — a full-size keyboard with a proper dedicated PrtScn key — many laptops bury it behind an Fn combination, which is what makes screenshotting awkward.
For everyday use, Windows + Shift + S is the way to take a screenshot on Windows — precise, fast and paste-ready. Switch to Windows + PrtScn when you want files saved automatically, and remember the Game Bar shortcut for games. Need moving pictures instead of stills? Here's how to screen record on Windows with audio — and if you switch between platforms, we've covered screen recording on a Mac too.