Add TopTechs as a preferred source
To set up dual monitors, plug each monitor into a video port, then press Windows + P and choose Extend. On a desktop with two spare ports, that is the whole job.
On a laptop it is rarely that simple. Most laptops can only drive one external screen from their built-in ports, which is why the second monitor stays black.
This guide covers both: the two-minute version, the laptop version that actually works, and the fixes for when Windows refuses to see the second screen.
Quick answer
- The three stepsConnect both monitors → press Windows + P → select Extend
- Then arrange themRight-click the desktop → Display settings, and drag the monitor rectangles to match how the screens sit on your desk
- If only one monitor lights upYou need a USB-C / Thunderbolt dock or a DisplayPort MST hub — not another HDMI cable
What you will need
- Two monitors and a cable for each — HDMI, DisplayPort or USB-C.
- Two video outputs on your computer. Count them before you buy anything. On a desktop they are on the graphics card at the back; on a laptop you might have one HDMI and one USB-C.
- For most laptops, a USB-C or Thunderbolt docking station. Explained below.
- Windows 11 or Windows 10. The steps are identical on both.
Step 1: Work out which ports you actually have
People skip this step, and it is the reason the second screen does not turn on. Look at the back of your PC, or the sides of your laptop, and identify each video port.
- HDMI — a flat, tapered port. Nearly every monitor and TV takes it.
- DisplayPort — similar size, but with one squared-off corner. Best for high refresh rates, and the only one that supports daisy-chaining.
- USB-C / Thunderbolt — the small oval port. If it has a lightning bolt or a small "D" display symbol beside it, it can carry video.
- DVI or VGA — older, larger connectors. They still work, but cap you at lower resolutions.
Important: on a desktop, plug both monitors into the graphics card (the lower set of ports), not the motherboard ports higher up. Mixing the two often leaves one screen dead.
Step 2: Connect both monitors
- Turn the monitors on and plug each one into a video output, using its own cable.
- If a monitor stays black, press its Input or Source button and pick the port you actually used. Monitors do not always auto-detect.
- Windows should flash briefly as it registers the new display.
Step 3: Tell Windows to extend
Press Windows + P. A panel slides in from the right with four choices.
- PC screen only — second display off.
- Duplicate — the same picture on both. Use this for presentations, not for work.
- Extend — one continuous desktop across both screens. This is the one you want.
- Second screen only — laptop screen off, external on. Handy with a closed laptop lid.
Choose Extend and you have a dual-monitor setup.
Step 4: Arrange the screens so your mouse behaves
Right-click the desktop and choose Display settings. You will see numbered rectangles representing your monitors.
Drag them so the arrangement matches the real world. If your second monitor sits on the left of your desk, drag its rectangle to the left. Get this wrong and your cursor leaves each screen on the wrong side, which feels broken all day.
While you are in there:
- Click a monitor, scroll down, and set Display resolution to whatever is marked (Recommended).
- Set Scale so text is the same physical size on both screens. A 27-inch 4K panel next to a 24-inch 1080p panel usually needs different scaling.
- Tick Make this my main display on whichever screen should hold your taskbar and new windows.
- Under Advanced display, set each monitor's refresh rate to its maximum. Windows often defaults a 144Hz monitor to 60Hz.
Connecting two monitors to a laptop
This is the part that trips everyone up.
Most laptops have exactly one HDMI port. So people buy an HDMI splitter, plug it in, and get the same image on both screens. A splitter duplicates one signal — it cannot create a second independent display.
Here is what actually works.
Option 1: Use two different ports
If your laptop has HDMI and a video-capable USB-C port, use both. One monitor on HDMI, the other on USB-C with a USB-C to HDMI or DisplayPort cable.
Free, and it works on most modern laptops.
Option 2: A USB-C or Thunderbolt dock — best for most people
One cable runs from the laptop to the dock. Both monitors, keyboard, mouse, ethernet and power hang off the dock, so you unplug one cable to leave your desk.
This is the setup worth paying for if you dock and undock daily.
- Thunderbolt 4 docks reliably drive two independent 4K displays. The best choice if your laptop has a Thunderbolt port (lightning-bolt icon).
- USB-C docks with DisplayLink work on almost any laptop, including ones whose USB-C cannot carry video, because DisplayLink pushes video over data with a driver. There is slight compression — fine for office work, not ideal for gaming.
Option 3: DisplayPort daisy-chaining (MST)
If both monitors have DisplayPort out as well as in, run a single cable from the laptop to monitor one, then monitor two to monitor one.
Enable DisplayPort 1.2 / MST in the first monitor's menu, or it will not work. This is the most affordable route if your gear supports it.
Which connection should you use?
| Method | Best for | Two independent screens? | Cost |
|---|---|---|---|
| Two separate ports | Laptops with HDMI + USB-C | Yes | Free (cables only) |
| Thunderbolt 4 dock | Daily docking, dual 4K | Yes | High |
| DisplayLink USB-C dock | Laptops without video-capable USB-C | Yes | Medium |
| DisplayPort daisy-chain | Monitors with DP-out | Yes | Low (one cable) |
| HDMI splitter | Mirroring to a TV | No — duplicates only | Low |
The gear worth buying
You do not need much, but the right dock removes every annoyance at once.
- A Thunderbolt 4 dock — the premium answer. Two 4K 60Hz displays, laptop charging and every peripheral over one cable. Look at CalDigit, Anker or Kensington. Expect a serious price, and check it lists dual 4K explicitly.
- A DisplayLink USB-C dock — the universal answer. It works even when your laptop's USB-C does not do video. Anker, Plugable and Dell all make solid ones at roughly half the price of Thunderbolt.
- A USB-C to HDMI cable — if you just need one more display and your laptop's USB-C carries video, this single cable is all you need.
- A monitor arm — the most affordable upgrade to a dual setup. It frees desk space and lets you line the screens up at the same height, which is the actual point of ergonomics.
Buy the dock after you have confirmed what your laptop's ports can do. That one fact drives everything else.
Fixing a second monitor Windows will not detect
- Force a scan. Display settings → Multiple displays → Detect.
- Check the monitor's input source with its physical Input button. This is the commonest cause of a "dead" screen.
- Swap the cable. Faulty and underspecced HDMI cables are extremely common. For 4K or high refresh, the cable has to be rated for it.
- Update the graphics driver from Nvidia, AMD or Intel directly, rather than Windows Update.
- Install DisplayLink drivers if your dock needs them. A DisplayLink dock does nothing without the driver.
- Both screens duplicating? You are in Duplicate mode — press Windows + P and pick Extend. Or you have used a splitter, which cannot do anything else.
- Only one screen works through a dock? Your laptop's USB-C may not support DisplayPort Alt Mode. That is the exact case a DisplayLink dock solves.
Bottom line
On a desktop, setting up dual monitors is two cables and Windows + P → Extend.
On a laptop, the deciding factor is what its ports can actually output. Use two different ports if you have them, and a Thunderbolt or DisplayLink dock if you do not.
Then spend two minutes in Display settings dragging the screens into the right order. That is the difference between a setup that feels natural and one that fights you.
Kit that makes a dual-monitor setup easier
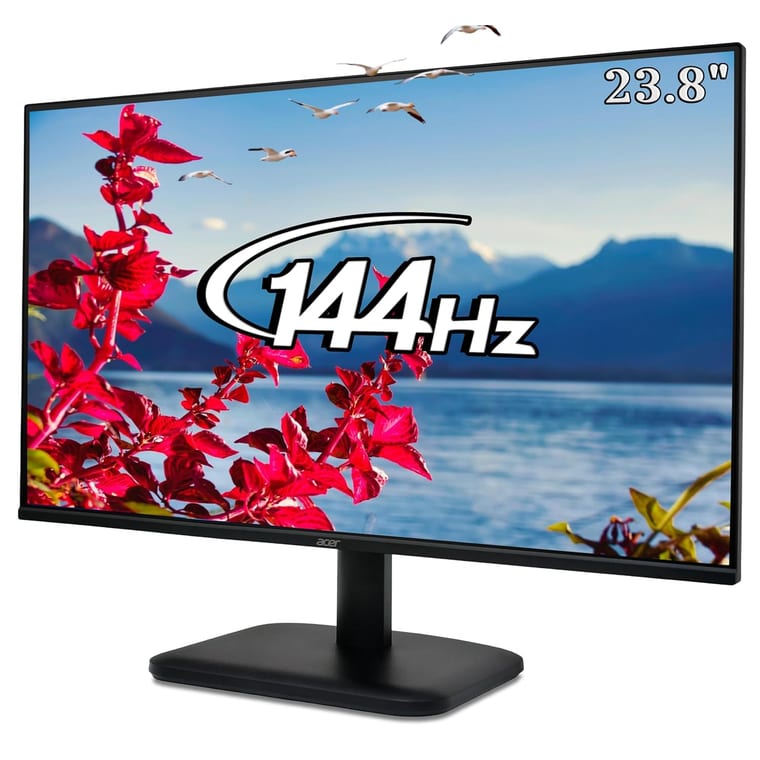
You only need three things beyond the laptop you already own.
- Acer EK240Y 23.8" Full HD IPS monitor — a well-rated, inexpensive second screen. Full HD IPS is the sweet spot for text and spreadsheets.
- Amazon Basics High-Speed HDMI cable — most monitors do not include one, and this handles 4K at 60Hz so it will not limit you later.
- Amazon Basics single monitor arm — frees the desk space under the screen and lets you match both monitors' heights, which is what stops neck ache.
Next: if the extra screen is for watching things, see how to cast your laptop to a TV. And once you are set up, how to take a screenshot on Windows covers grabbing just one of your monitors instead of both.